Part 3: Create and animate objects on a slide — Patriotic Theme — Text
This step-by-step series of tutorials will show you how to animate shapes and text to create a customizable patriotic slide with background music. This third tutorial focuses on drawing and animating the Text shown below.

Patriotic Theme Slide – Complete
Create text
Learn how to animate the Text in the above slide — but with a twist. This tutorial will show you how to create Text using the PowerPoint Fragment Shapes feature and how to animate each letter with the Expand Entrance Effect
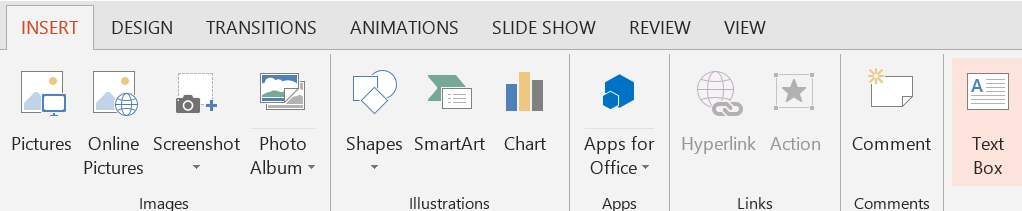
- On the Insert tab, click Text Box, and then place your cursor on the slide and click to draw the text box on the slide.

Create text
- Type the desired text (we’ve used Arial Black)

Type the Words – Veterans Day
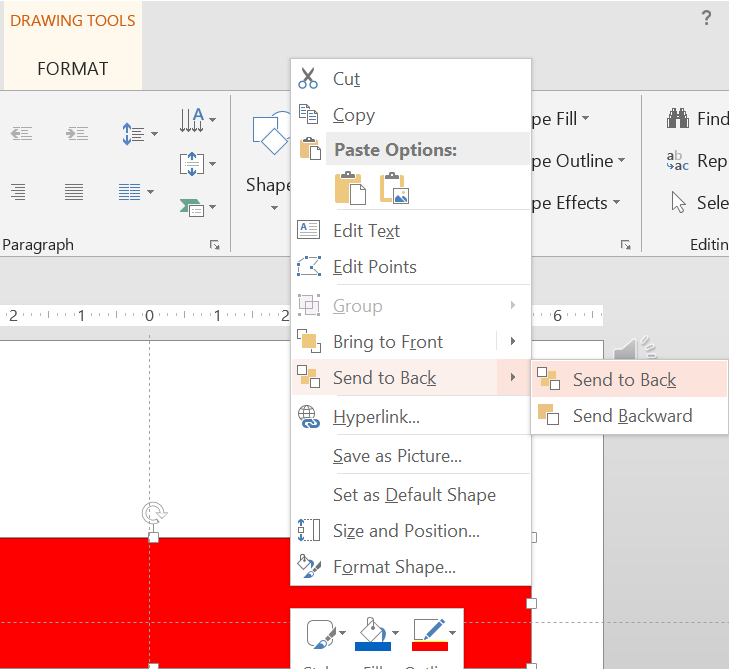
- On the Insert tab, insert a Rectangle Shape to cover the length and height of the text (shown in red – note that the color doesn’t matter at this point) > Send Rectangle Shape to Back (Right click on rectangle > Send to Back > Send to Back

Send to Back
- Select the Rectangle Shape then with Shift Key held down, select the Text Box
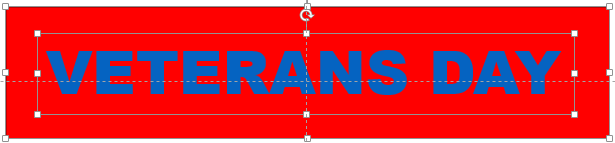
Select Text Box
- Go to Drawing Tools > Format > Insert Shapes Group > Merge Shapes ? > Fragment
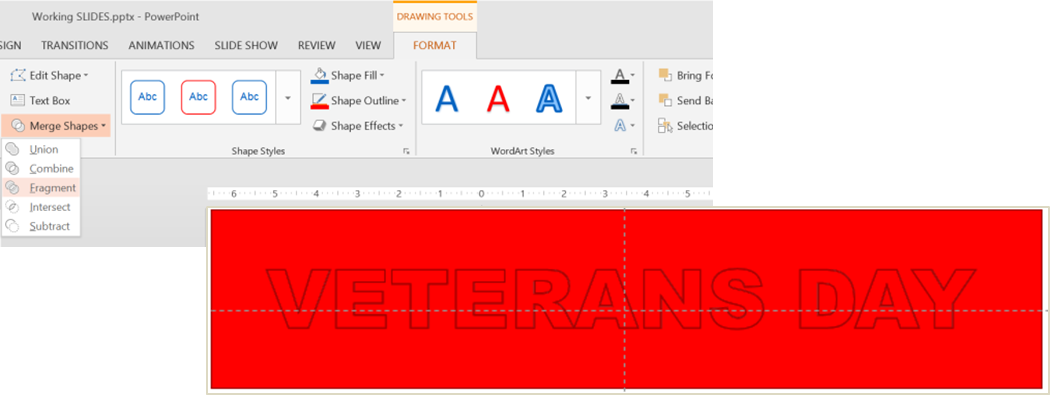
Use Fragment Tool
- Delete the areas of the letters that need to be removed (for example, the middles of the D, A, and R and the area of the shape surrounding the text. Leave the the remaining text.

Delete Artifacts
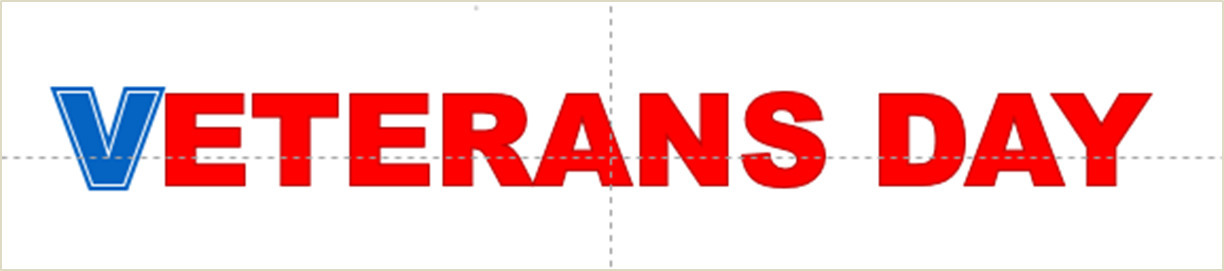
- Change the Shape Fill and Shape Outline colors as Desired

Change Fill and Outline
- Adjust letter spacing as desired (we’ve tightened it up so each letter touches the next)

Tighten Text
- Group all of the letters in “VETERANS DAY.” Select each letter while holding down the Shift Key. Then go to the Drawing Tools Tab > Format > Group ? > Group.
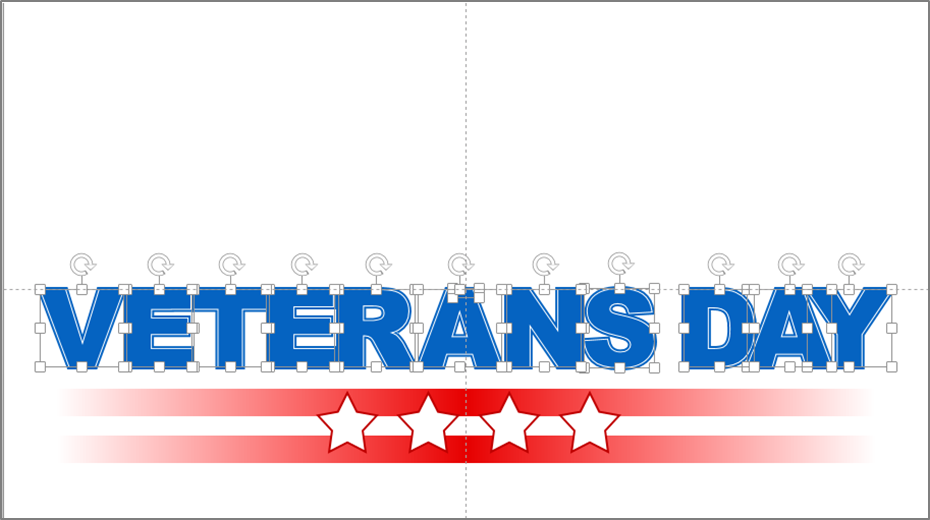
Select Text
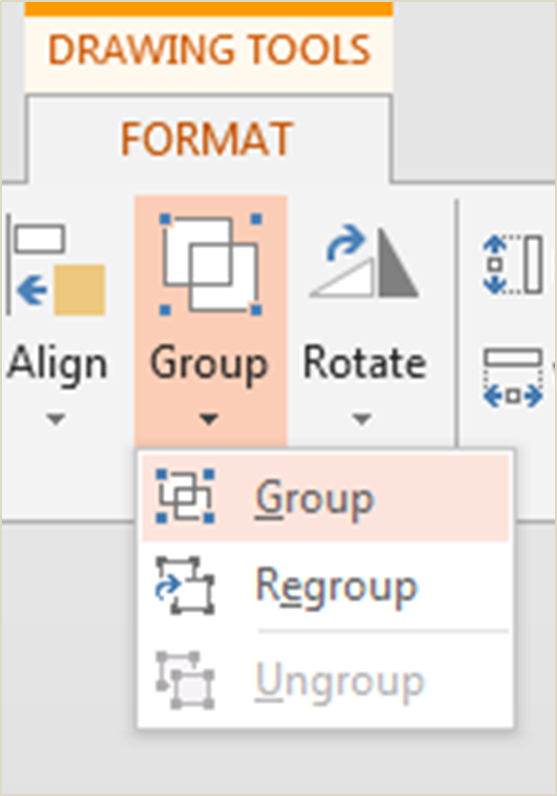
Group Text
- Resize Grouped Shapes as needed
- Ungroup


To animate Text, follow these steps:
- Holding the shift key, select each text shape (important, select each shape in the order of which you wish to animate – we’re starting with the “V” and ending with the “Y”.
Hold Shift Key to Select Text
- Go to the Animation Tab > Advance Animation Group > Add Animation > More Entrance Animations > Under Subtle, pick Expand
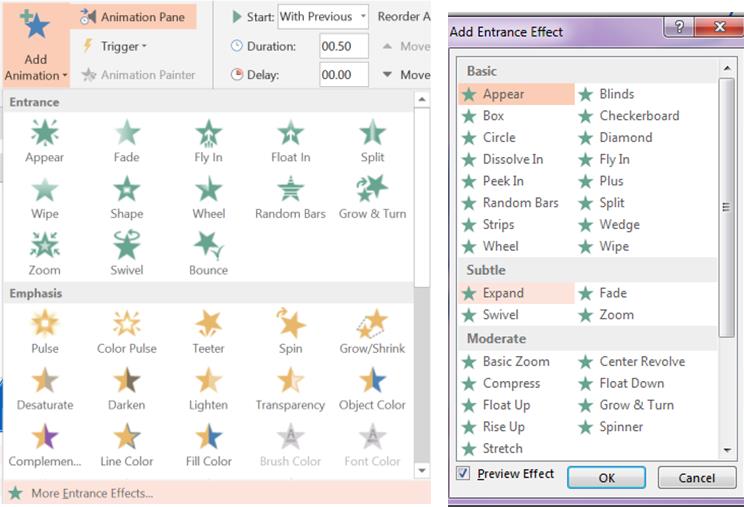
Apply Expand Entrance Animation
- Show the Animation Pane by going to the Animation Tab > Advanced Animation Group > Animation Pane
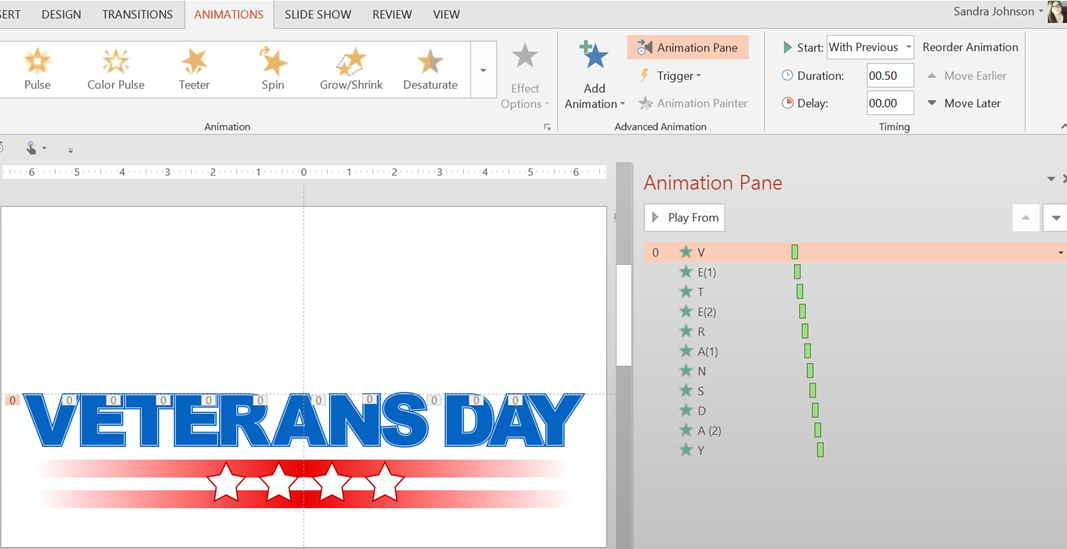
Animation Pane
- In the Animation Pane, with the animations effects still selected, go to Animation Tab > Timing group> Start (More Arrow) > With Previous
Text Animation Results
Start: With Previous
Set the Delay: Start each letter in 2 second increment (.20, .40, etc.)
Set the Duration: .50


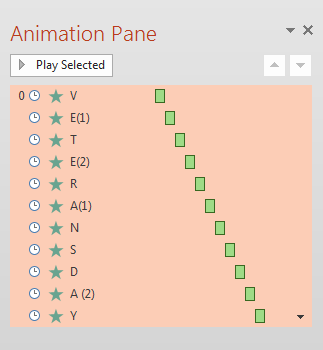
After creating and animating the Red Bars, White Stars and Text, your Animation Pane should look like the graphic below:

Steps so far
*REMINDER: We have labeled each object on the slide by identifying it in the Selection Pane (Home > Editing group > Select > Selection Pane)
This tutorial is part of a 5 part series. To learn other drawing and animation techniques to create a slide like this, click any of the following links:
Draw and Animate the red stars
Create and Animate custom text (with Fragment Shapes Tool)
Draw and Animate the shooting stars
Download the PowerPoint file from here