
Part 4: Create and animate objects on a slide — Patriotic Theme — Shooting Stars
Coming Soon. See the first three tutorials in this series by starting here.
This step-by-step series of tutorials will show you how to animate shapes and text to create a customizable patriotic slide with background music. This fourth tutorial focuses on drawing and animating the Star Columns shown below.

Patriotic Theme Slide – Complete
Create the shooting stars
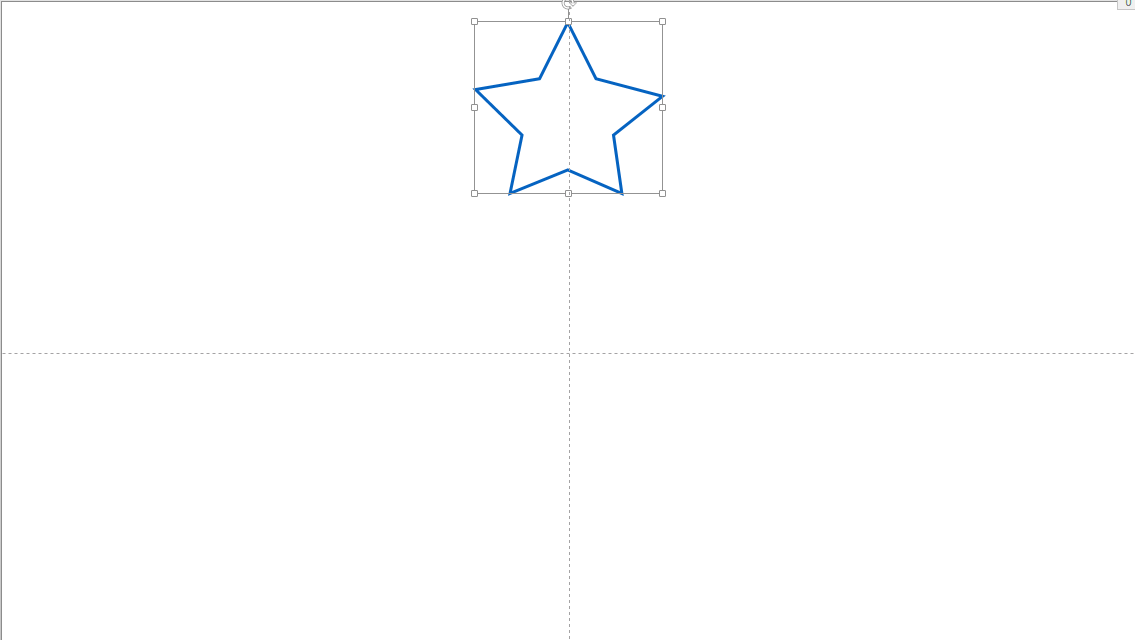
- Insert > Shapes > Stars and Banners > 5-Point Star

Draw Star Shapes
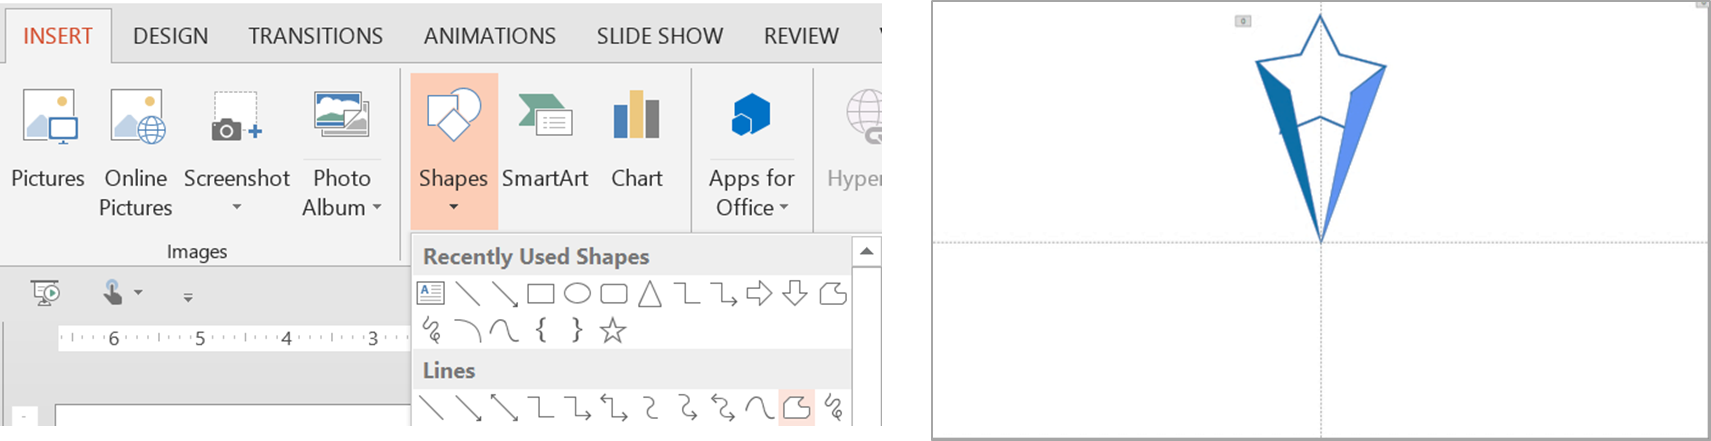
- Place the star on the slide then use your Guides (Right click on slide background, Choose Grids and Guides> Select Display grids on screen to create and intersection point for your “star columns”


Star Image Placement
- Use the Freeform tool to create star columns. You’ll find it at Insert > Shapes > Lines > Freeform [JM11](repeat until you have 4 columns of alternating colors)

Freeform Tool
- Select the 5-Point Star. Go to Drawing Tools > Format > Arrange > Bring Forward (More Arrow) > Bring to Front 5. Select the 5-Point Star then holding down the Shift Key, select the Shapes you just drew with the Freeform Tool. 6. Group them by going to Drawing Tools > Format > Arrange > Group (More Arrow) > Group 7. Repeat Steps 1 – 6, but start each step with each 5-Point Star in your desired end location.

To animate the shooting stars, follow these steps:
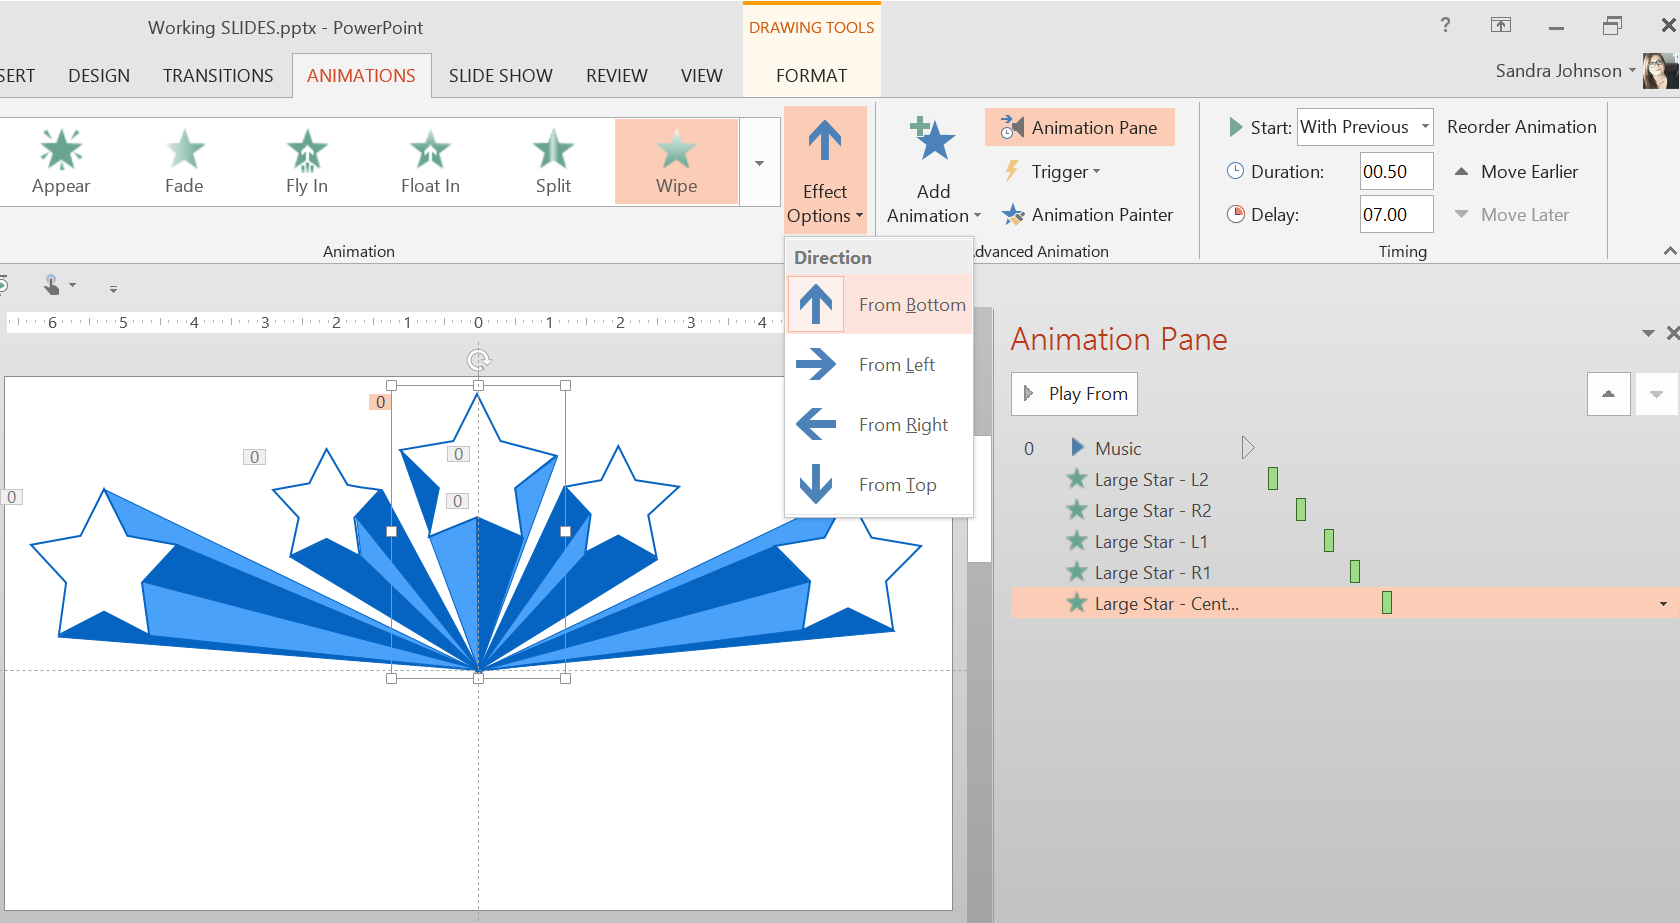
- Select a grouped column then go to the Animation Tab and choose the Wipe Entrance Effect
- Click the Effects Options More Arrow ( to reveal options, then choose From Bottom)

Animate the Shooting Stars
- Repeat this step for each column, changing the Wipe direction depending on the a columns star location (e.g., you’ll want to animated the column with star located on the far left above From Right)
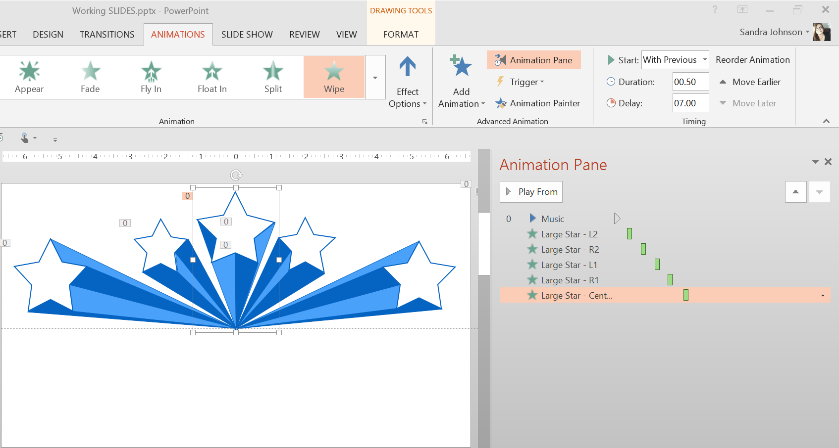
- With the Animation Pan open (Animation Tab > Advanced Animation Group > Animation Pane) set the timing for the shooting star animation to the follow settings (in the order in which you want the columns to appear:
Animation Timing
Start: With Previous Set the Delay: every 1:30 seconds Duration: .50

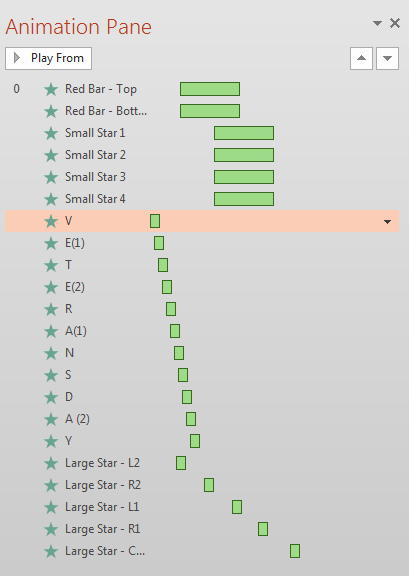
After creating and animating the Red Bars, White Stars, Text, and Shooting Stars, your Animation Pane should look like this:
Shooting Stars Animation Results
*REMEMBER: We have labeled each object on the slide by identifying it in the Selection Pane (Home > Editing > Select > Selection Pane)
This tutorial is part of a 5 part series. To learn other drawing and animation techniques to create a slide like this, click any of the following links:
Draw and Animate the red stars
Create and Animate custom text (with Fragment Shapes Tool)
Draw and Animate the shooting stars
Download the PowerPoint file from here