
Tutorial: Using Ink Tools to create an animated sketch in PowerPoint
As promised, here is a tutorial to create an animated sketch in PowerPoint. Follow these steps using PowerPoint 2013 on your Surface Pro (I have not tested this on other Windows 8 touch devices).

Step 1: Start with a blank slide.
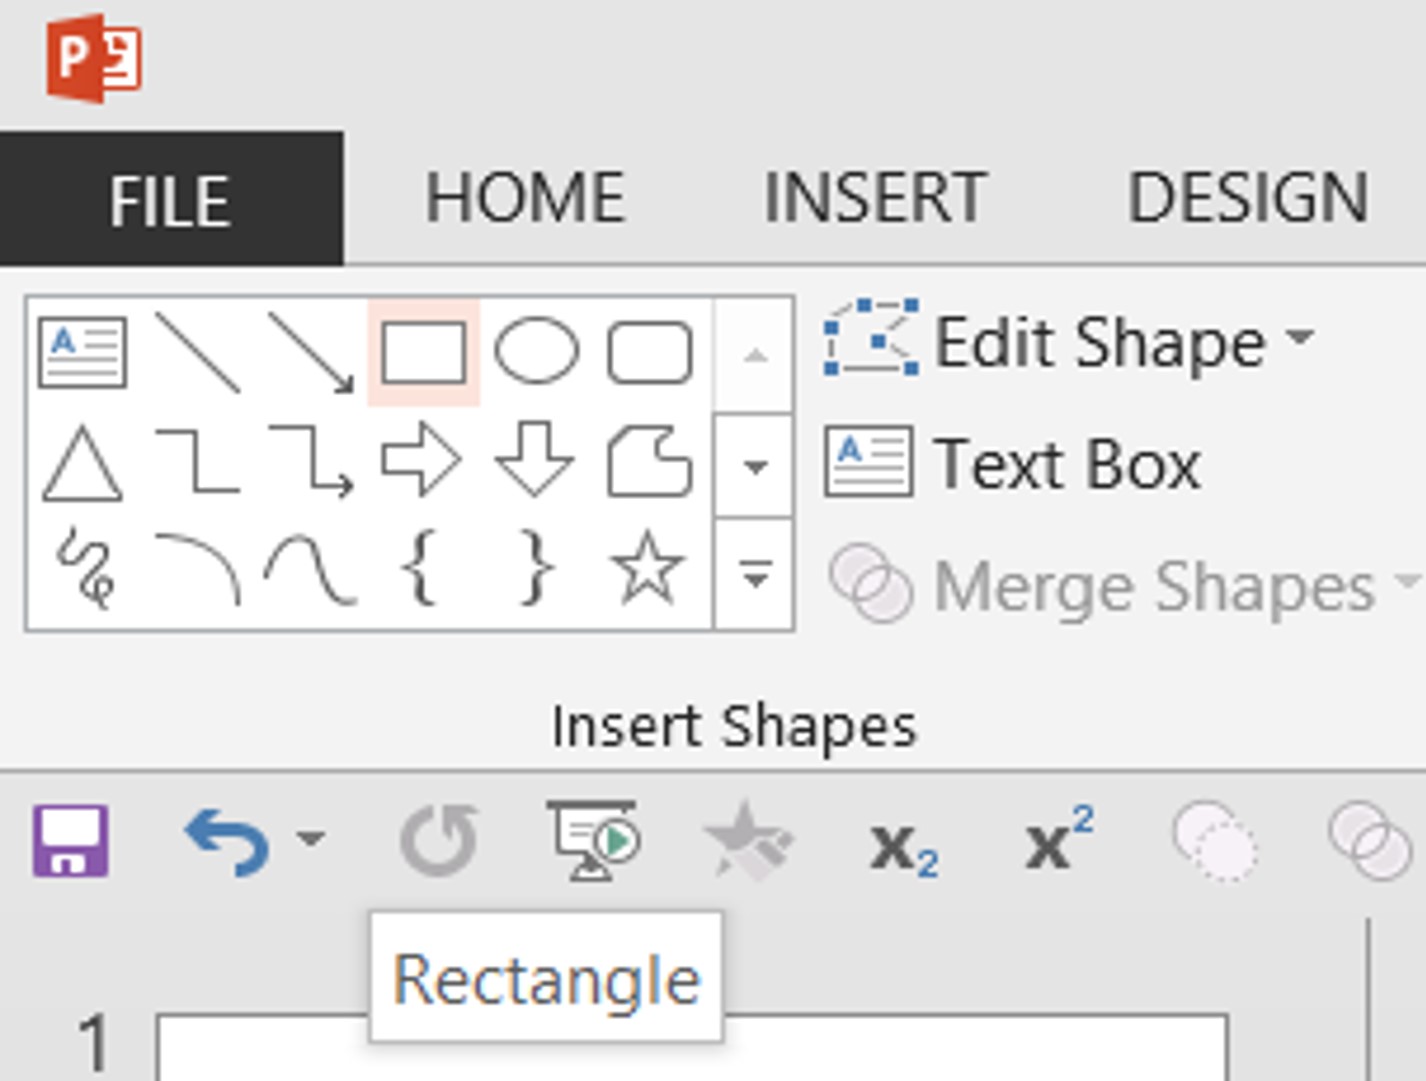
Step 2: Find the Rectangle Drawing Tool in the Drawing Group under the Home Tab or in the Illustrations Group under the Insert Tab.

Step 3: Cover the entire slide area with the Rectangle.
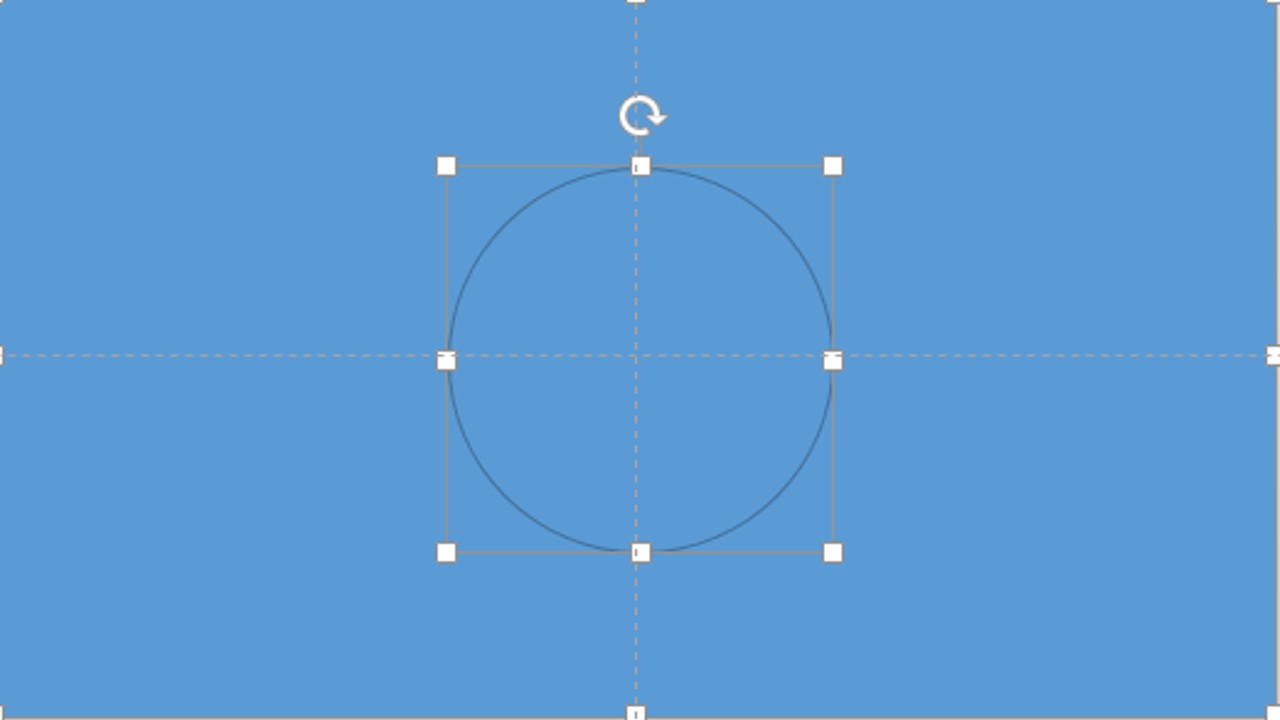
Step 4: Holding the Shift Key, Select the Rectangle, then Select the Oval so both Shapes on the slide on selected.
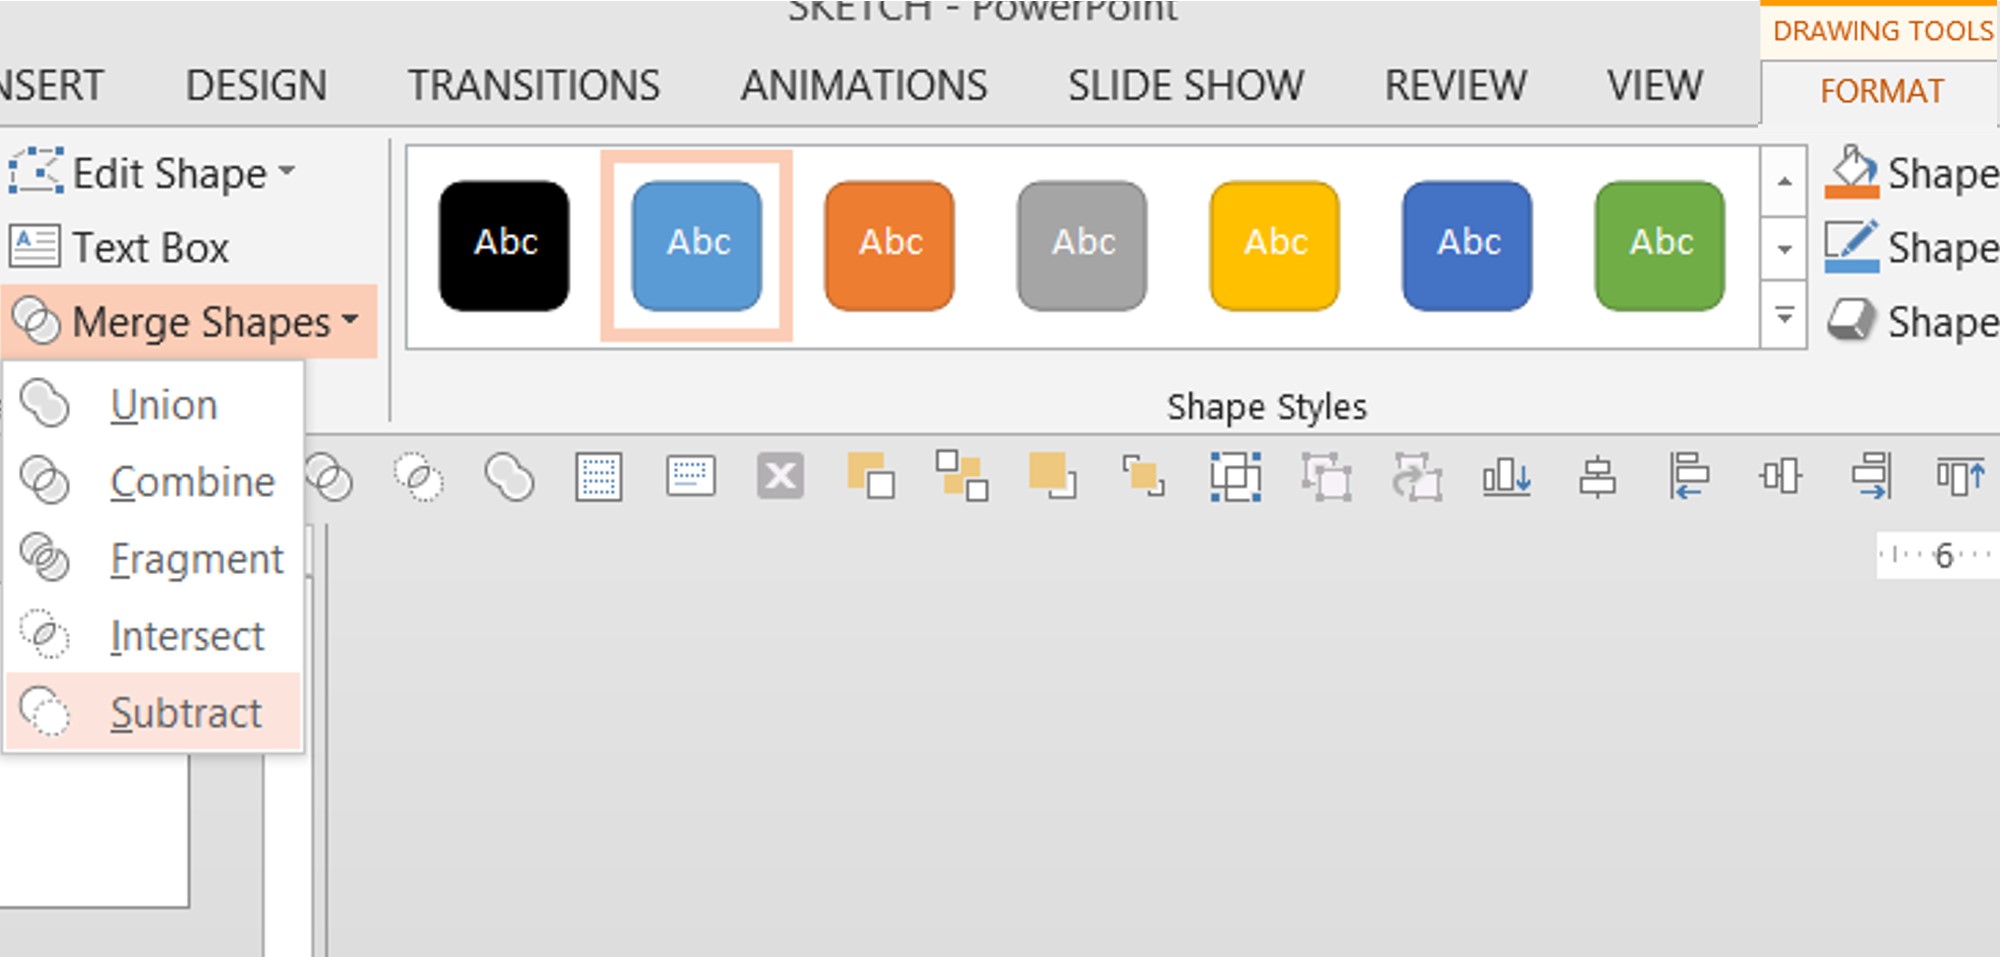
Step 5: Find the Oval Merge Shapes Tools in the Insert Shapes Group under the Drawing Tools Tab.

Step 6: You will be left with a hole in the Rectangle.
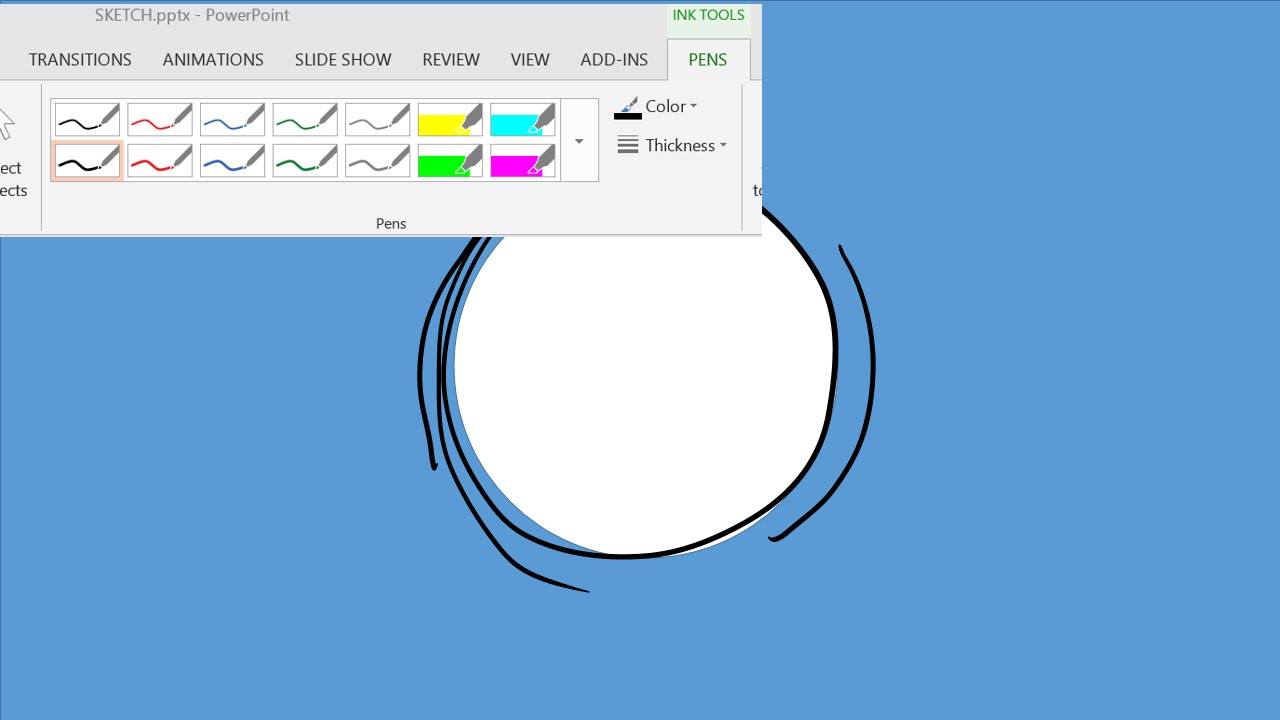
Step 7: Using the stylus on a Surface Pro running PowerPoint 2013, touch the slide area to expose the Ink Tools Tab in the Ribbon. Choose desired pen color and thickness (we’ve used black at 1 pt). Draw a circle just outside the “hole” area. We’ve also included some extra lines for motion.
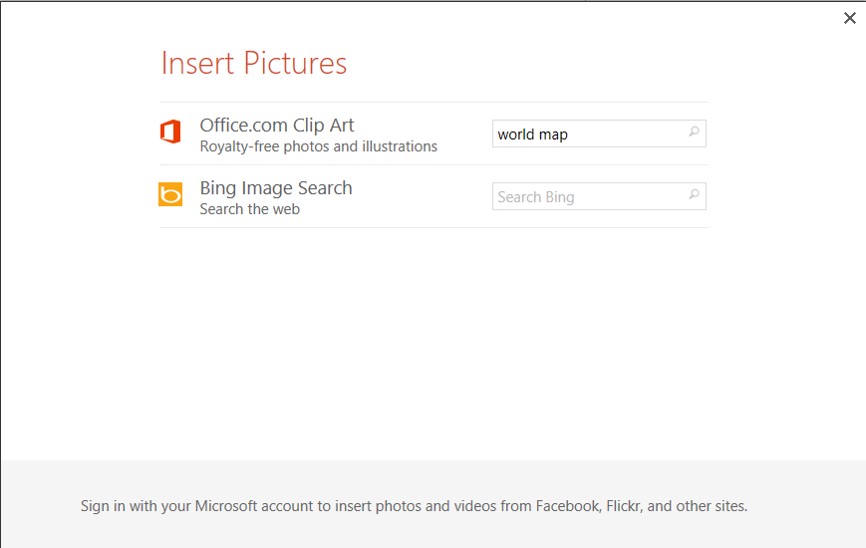
Step 8: Go to Insert > Online Pictures, then type World Map in the Search blank.

Step 9: Browse to a flat world map that looks something like this, select it, then click Insert. Resize and place the map to cover the globe. It won’t all fit, but that’s OK at this point

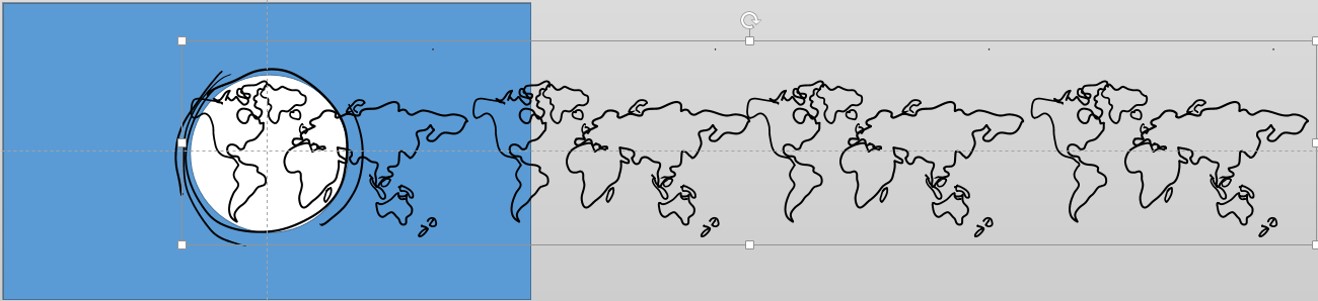
Step 10: Using the stylus on a Surface Pro running PowerPoint 2013, touch the slide area to expose the Ink Tools Tab in the Ribbon. Choose desired pen color and thickness (we’ve used black at 1 pt). Outline (trace over) the world map. Don’t worry about it being exact. When done tracing, Group all of your continents (if they’re not already a single group)

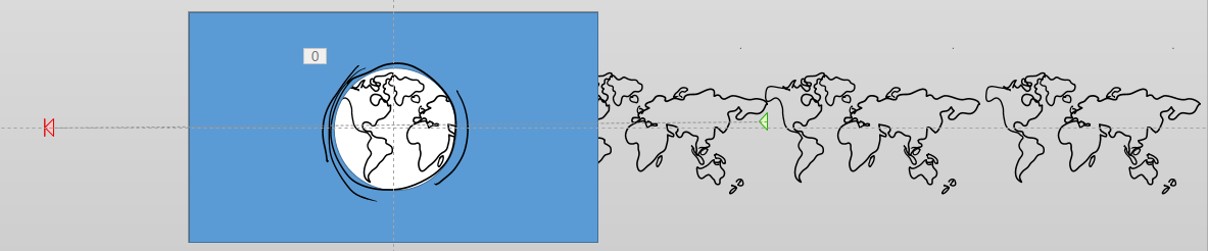
Step 12: Send the Group to Back
Step 13: Go to the Animation Tab > Add Animation > Motion Path > Custom Path. Draw the Custom Path so that the group of maps moves to the left far enough to show all five maps in the group.

Step 14: Select each of the sketch element in the circle you drew in Step __. Go to the Animation Tab > Add Animation > Emphasis > Teeter.
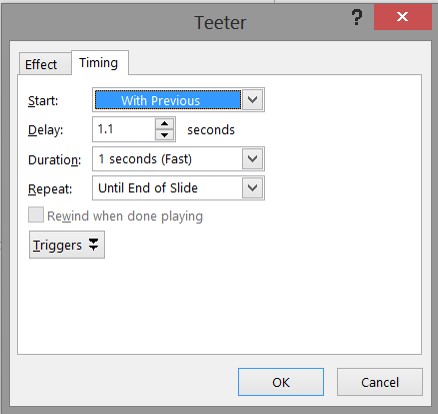
14.1 Adjust the Duration and Delay for each sketched element to they are not all moving at the same speed/time. Set the Repeat to End of Slide.
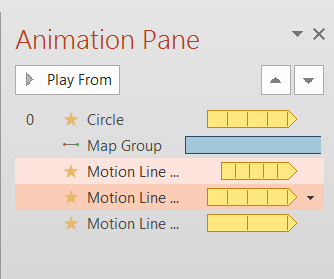
14.2: Your Animation Pane might look something like this.

Step 15: Start with a blank slide. Change the Blue Rectangle to White without a Border. Check out your animated, sketch globe in Slide Show view.
Download presentation here: http://wp.me/p1kyln-5W