Navigate your PowerPoint presentation like a website. Step by Step Instructions. (Part 2 of 2)
In Part of 1, “Navigate your PowerPoint presentation like a website.” we explained how a PowerPoint presentation can be built like a website, allowing a presenter to customize a presentation in real time, depending on the needs of his/her audience. In Part 2, we will show you how, step by step, you can build this functionality into your presentations.
Step 1: Complete the design and placement of all the slides in your presentation
Step 2: Build a launch slide
In Image 1, each of these four shapes represents a section of content found within the same presentation. We will return to this slide in Step 5.
Step 3: Choose slides for each section
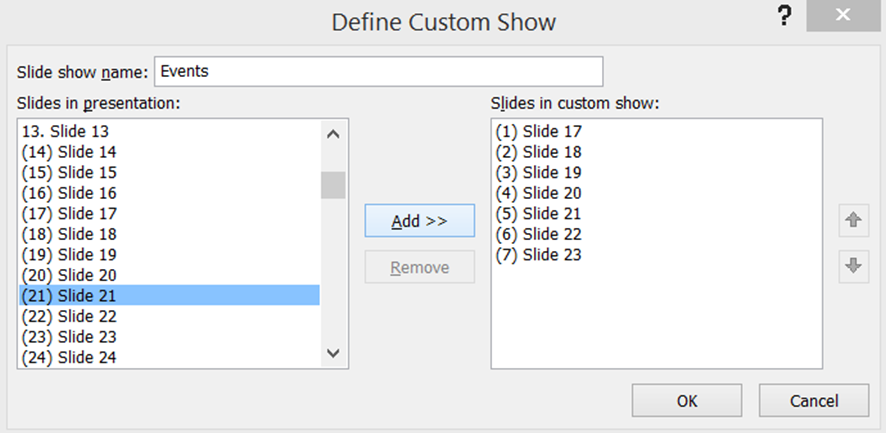
Make a note of the slides that you want to be associated with the launch slide and their respective shape. In this example, we’ve noted that slides 17 – 38 will be in the “Events” section.
Step 4: Create a Custom Show
In this example, we will create a Custom Show for the Events Section.
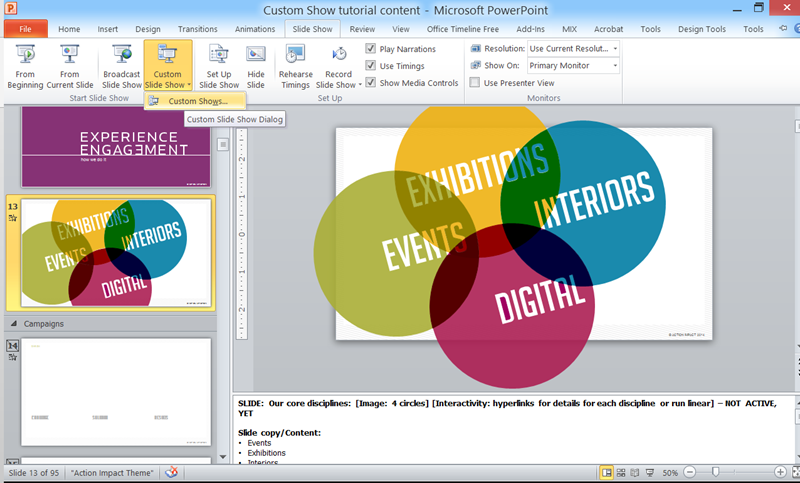
- In the Ribbon, click on Slide Show > Custom Slide Show > Custom Shows
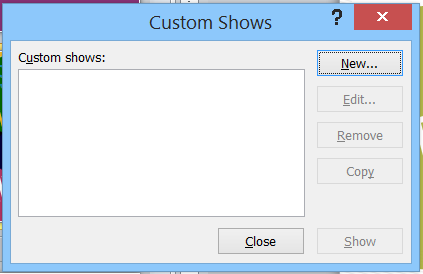
- In the Custom Shows dialog, click on the New button, this opens the Define Custom Show dialog
- In the Define Custom Show dialog, type the name of the Custom Show you are creating in the Slide show name box. Scroll down in the left well (named: Slides in presentation) to find the slides that you wish to include in this Custom Show and select each of those slides. For each slide you select, click on the Add button to move them to the right well (named: Slides in custom show). Click OK. Click Close.
Step 5: Create an Action Button
Now return to the launch slide you built in Step 2.
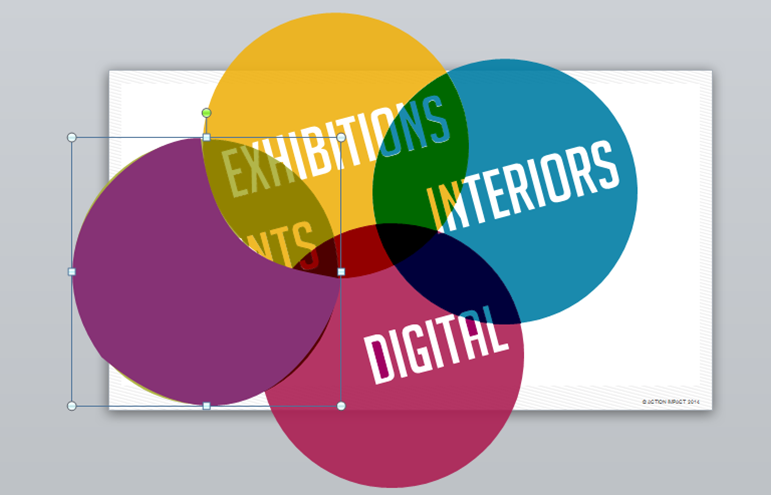
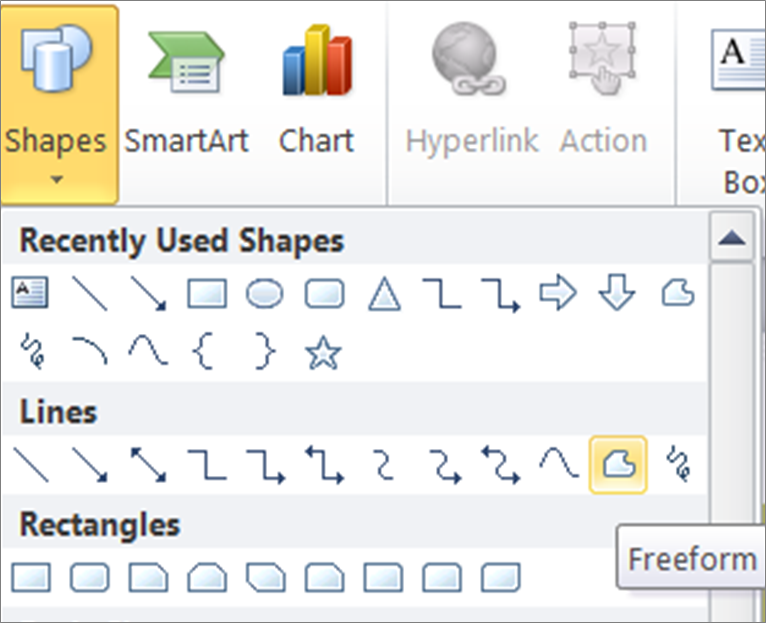
- Draw a Shape over the area that will be the hyperlink (Action Button) to the Events section. In this case, we will draw a Freeform shape over the Events oval
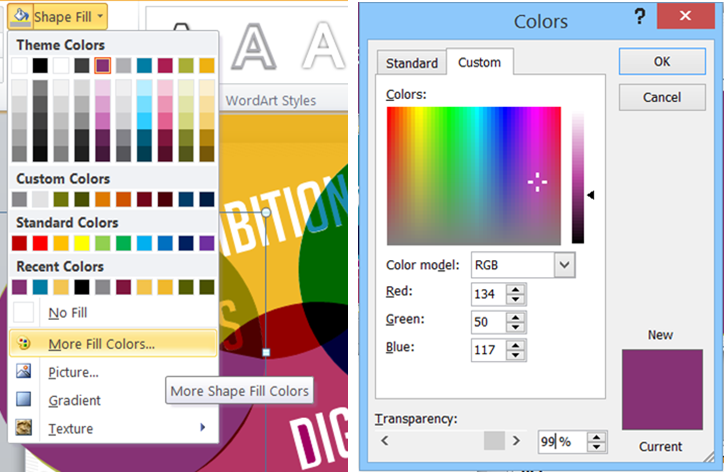
- Set Fill Color transparency to 99% (99% is a carrier-over number from old versions of PowerPoint. We’ve been told that 100% transparency should work — I have not had complete success with this). This makes the shape we just drew visually transparent, while giving PowerPoint something to “connect” to
Step 6: Apply an Action Setting (a hyperlink)
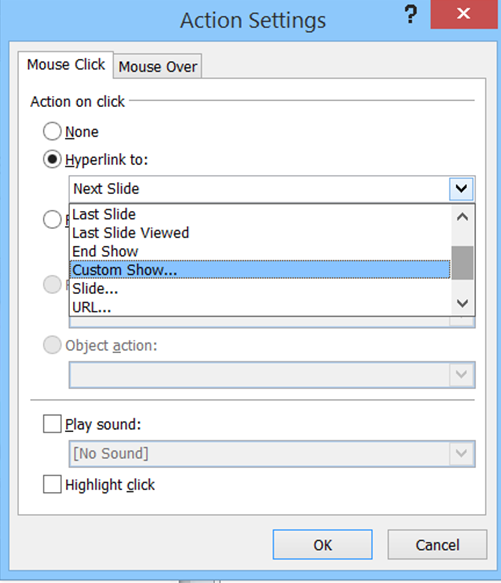
- Select the Shape you created in Step 5. In the Ribbon, click on Insert > Action. This will open the Action Setting dialog.
- In the Action Settings dialog, click on the Hyperlink to: button > click on the More Arrow under Hyperlink to: > scroll down to find Custom Show > Click on OK. This will open the Link To Custom Show dialog.
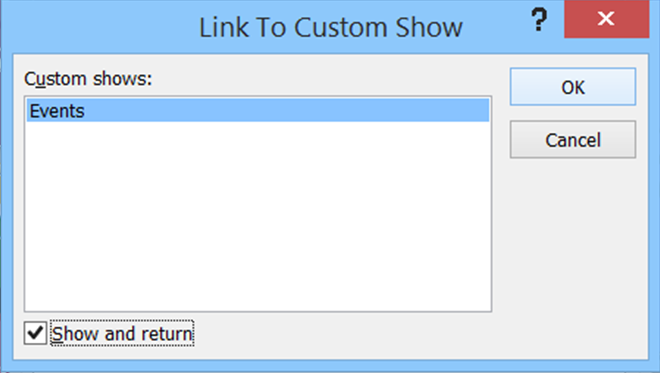
- In the Link To Custom Show dialog, find the show you want to hyperlink to > check off the Show and return option > click OK > click OK.
Now, once you place the presentation in Slide Show view and navigate to the launch slide, you can click on (in our example) the Events “hyperlink button” to advance to select content. Once the presenter has completed advancing all of the slides in that section, the presentation will automatically return to the launch slide.
Note: you will not automatically return to the launch slide if you start your Slide Show from, say, a slide in the middle of your section. You must always start from the launch slide to get Show and return.


